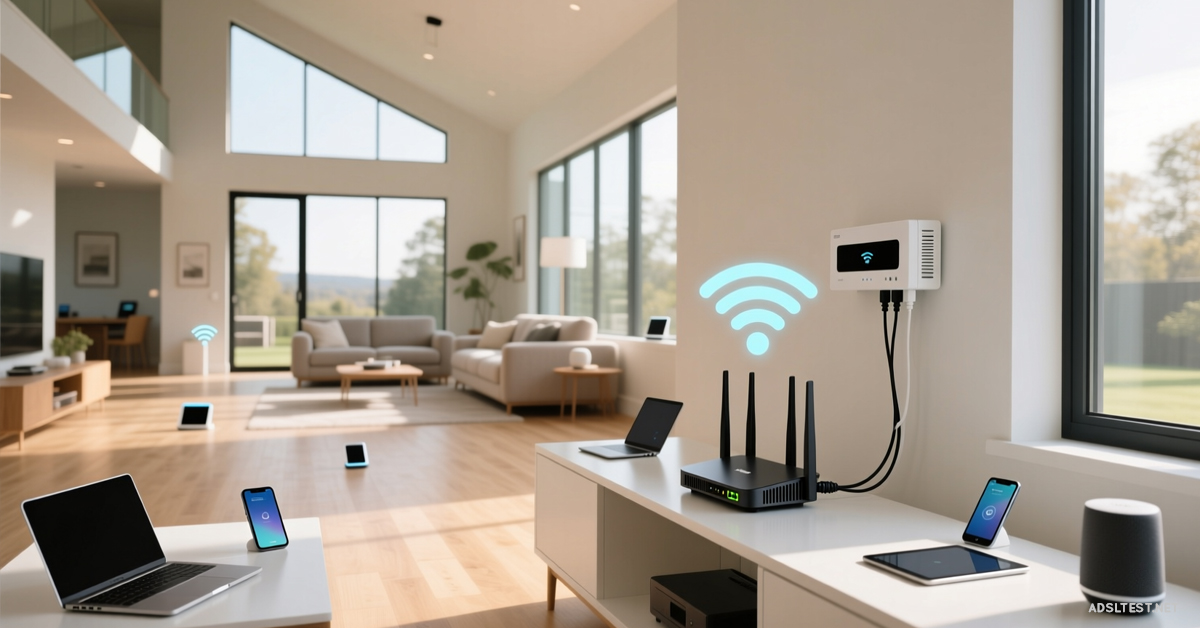
How to Improve Wi-Fi Speed in a Large House or Apartment
One bar in the bedroom, a dead zone in the den—large spaces are Wi-Fi killers. The problem isn’t your internet plan; it’s your Wi-Fi’s ability to travel through walls and across distances. Here’s how to blanket every room with strong, fast signal.
Step 1: Find Your Router’s Sweet Spot (The Central Command Rule)
Your router’s placement is 50% of the battle. Walls, floors, and large appliances are signal assassins.
Do This: Place your router centrally and elevated—on a shelf, not on the floor or in a cabinet. Avoid placing it near microwaves, baby monitors, or brick/concrete walls.
Why It Works: Wi-Fi spreads out and down. A central, high position creates a better starting point for coverage. Even a 3-foot lift can dramatically improve range.
Step 2: Choose the Right Equipment for Your Square Footage
A single router, no matter how powerful, has limits. Match your tech to your space.
For Apartments (800-1,500 sq ft): A quality modern Wi-Fi 6 router is often sufficient. Ensure it has multiple external antennas.
For Multi-Story or Large Homes (1,500+ sq ft): You need a distributed system. Choose one:
Mesh Wi-Fi System (Best for Most): Multiple units (nodes) communicate to create one seamless network. Easy to set up. Place the first node by your modem, and others halfway to your dead zones.
Powerline Adapters with Wi-Fi (For Thick Walls): Uses your home’s electrical wiring to extend the network. Plug one adapter near your router, and another in a dead zone, then broadcast Wi-Fi from there.
Skip “Wi-Fi Extenders/Repeaters.” They often cut your speed in half and create annoying separate network names.
Step 3: Optimize Your Wi-Fi Channels (The Traffic Jam Fix)
Your neighbor’s Wi-Fi is competing with yours, especially in apartments. You’re likely both on the same crowded channel.
Do This: Log into your router’s admin settings (usually 192.168.1.1 in a browser). Look for Wireless Settings and change the 2.4 GHz channel to 1, 6, or 11. For 5 GHz, set it to Auto or a high-numbered channel (like 149+).
Use an App: Tools like Wi-Fi Analyzer (Android) or AirPort Utility (iOS) can visually show you the least congested channels.
Step 4: Prioritize Speed with the 5 GHz Band (And Use 2.4 GHz for Range)
Modern routers broadcast two networks: 2.4 GHz and 5 GHz.
Connect to 5 GHz for Speed: For devices close to the router (laptops, streaming boxes), use the 5 GHz network. It’s much faster but doesn’t travel as far.
Use 2.4 GHz for Range: For devices far away or smart home gadgets (thermostats, smart plugs), use the 2.4 GHz network. It’s slower but penetrates walls better.
Pro Tip: If your router supports it, enable “Band Steering” in its settings. It automatically assigns devices to the best band.
Step 5: The Ultimate Upgrade for Gigabit Plans
If you have a fast internet plan (300+ Mbps) but slow Wi-Fi, your router might be the bottleneck.
Upgrade to Wi-Fi 6 (or 6E): The latest standard handles multiple devices far better and provides full speed to newer phones and laptops.
The Wire What You Can: For stationary, speed-critical devices (gaming console, desktop PC, smart TV), run an Ethernet cable. It’s always faster, more reliable, and frees up Wi-Fi bandwidth for everything else.
Quick Troubleshooting Checklist
Reboot Your Router: Once a month. It clears memory and resets connections.
Update Router Firmware: Check the manufacturer’s app or admin page for updates.
Check for Interference: Move cordless phone bases, Bluetooth speakers, or wireless gaming docks away from your router.
Final Signal: Improving Wi-Fi in a large space is about strategy, not just strength. You need the right equipment placed correctly and tuned for your environment. Start with placement and a channel change—it’s free. If that fails, invest in a Mesh system. Your goal isn’t just to have Wi-Fi everywhere, but to have fast Wi-Fi everywhere.
2026 Global Internet Speed Ranking: Top 10 Countries with the fastest internet speed
Fastest Internet in Europe: 2026 Country Rankings
Cities with the Fastest Internet in the World (2026 Data)
Global Mobile Internet Speed Ranking for 2026 : Top 10 countries